I made these a long time ago, and we used them for years. These names card are so simple and easy to make and require very little supplies. If you want something different and a little more involved, check out out turkey place cards here.


Supplies:
- Markers/Pens
- Index cards or
- Autumn color themed paper (3″ X 5″) (light) (You can also use construction paper.)
- Ribbons-Fall colors or twine
- Small leaf punch (Maple Leaf)
- Glue Stick. (I find it easier to use than liquid glue).
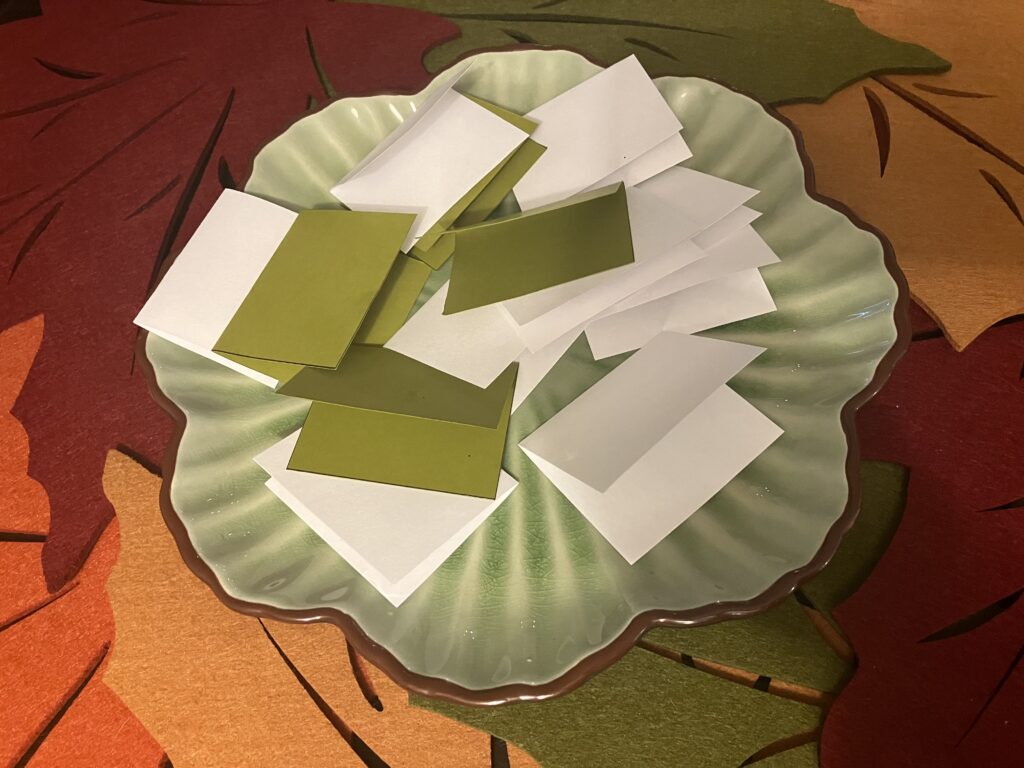
Step 1. Fold Cards.
First, fold Index cards in half. You can also use colored card stock paper. I would use light colors so you can see the name through them. I would also stick to the 3″X5″ size. From my Experience this size works with spacing.
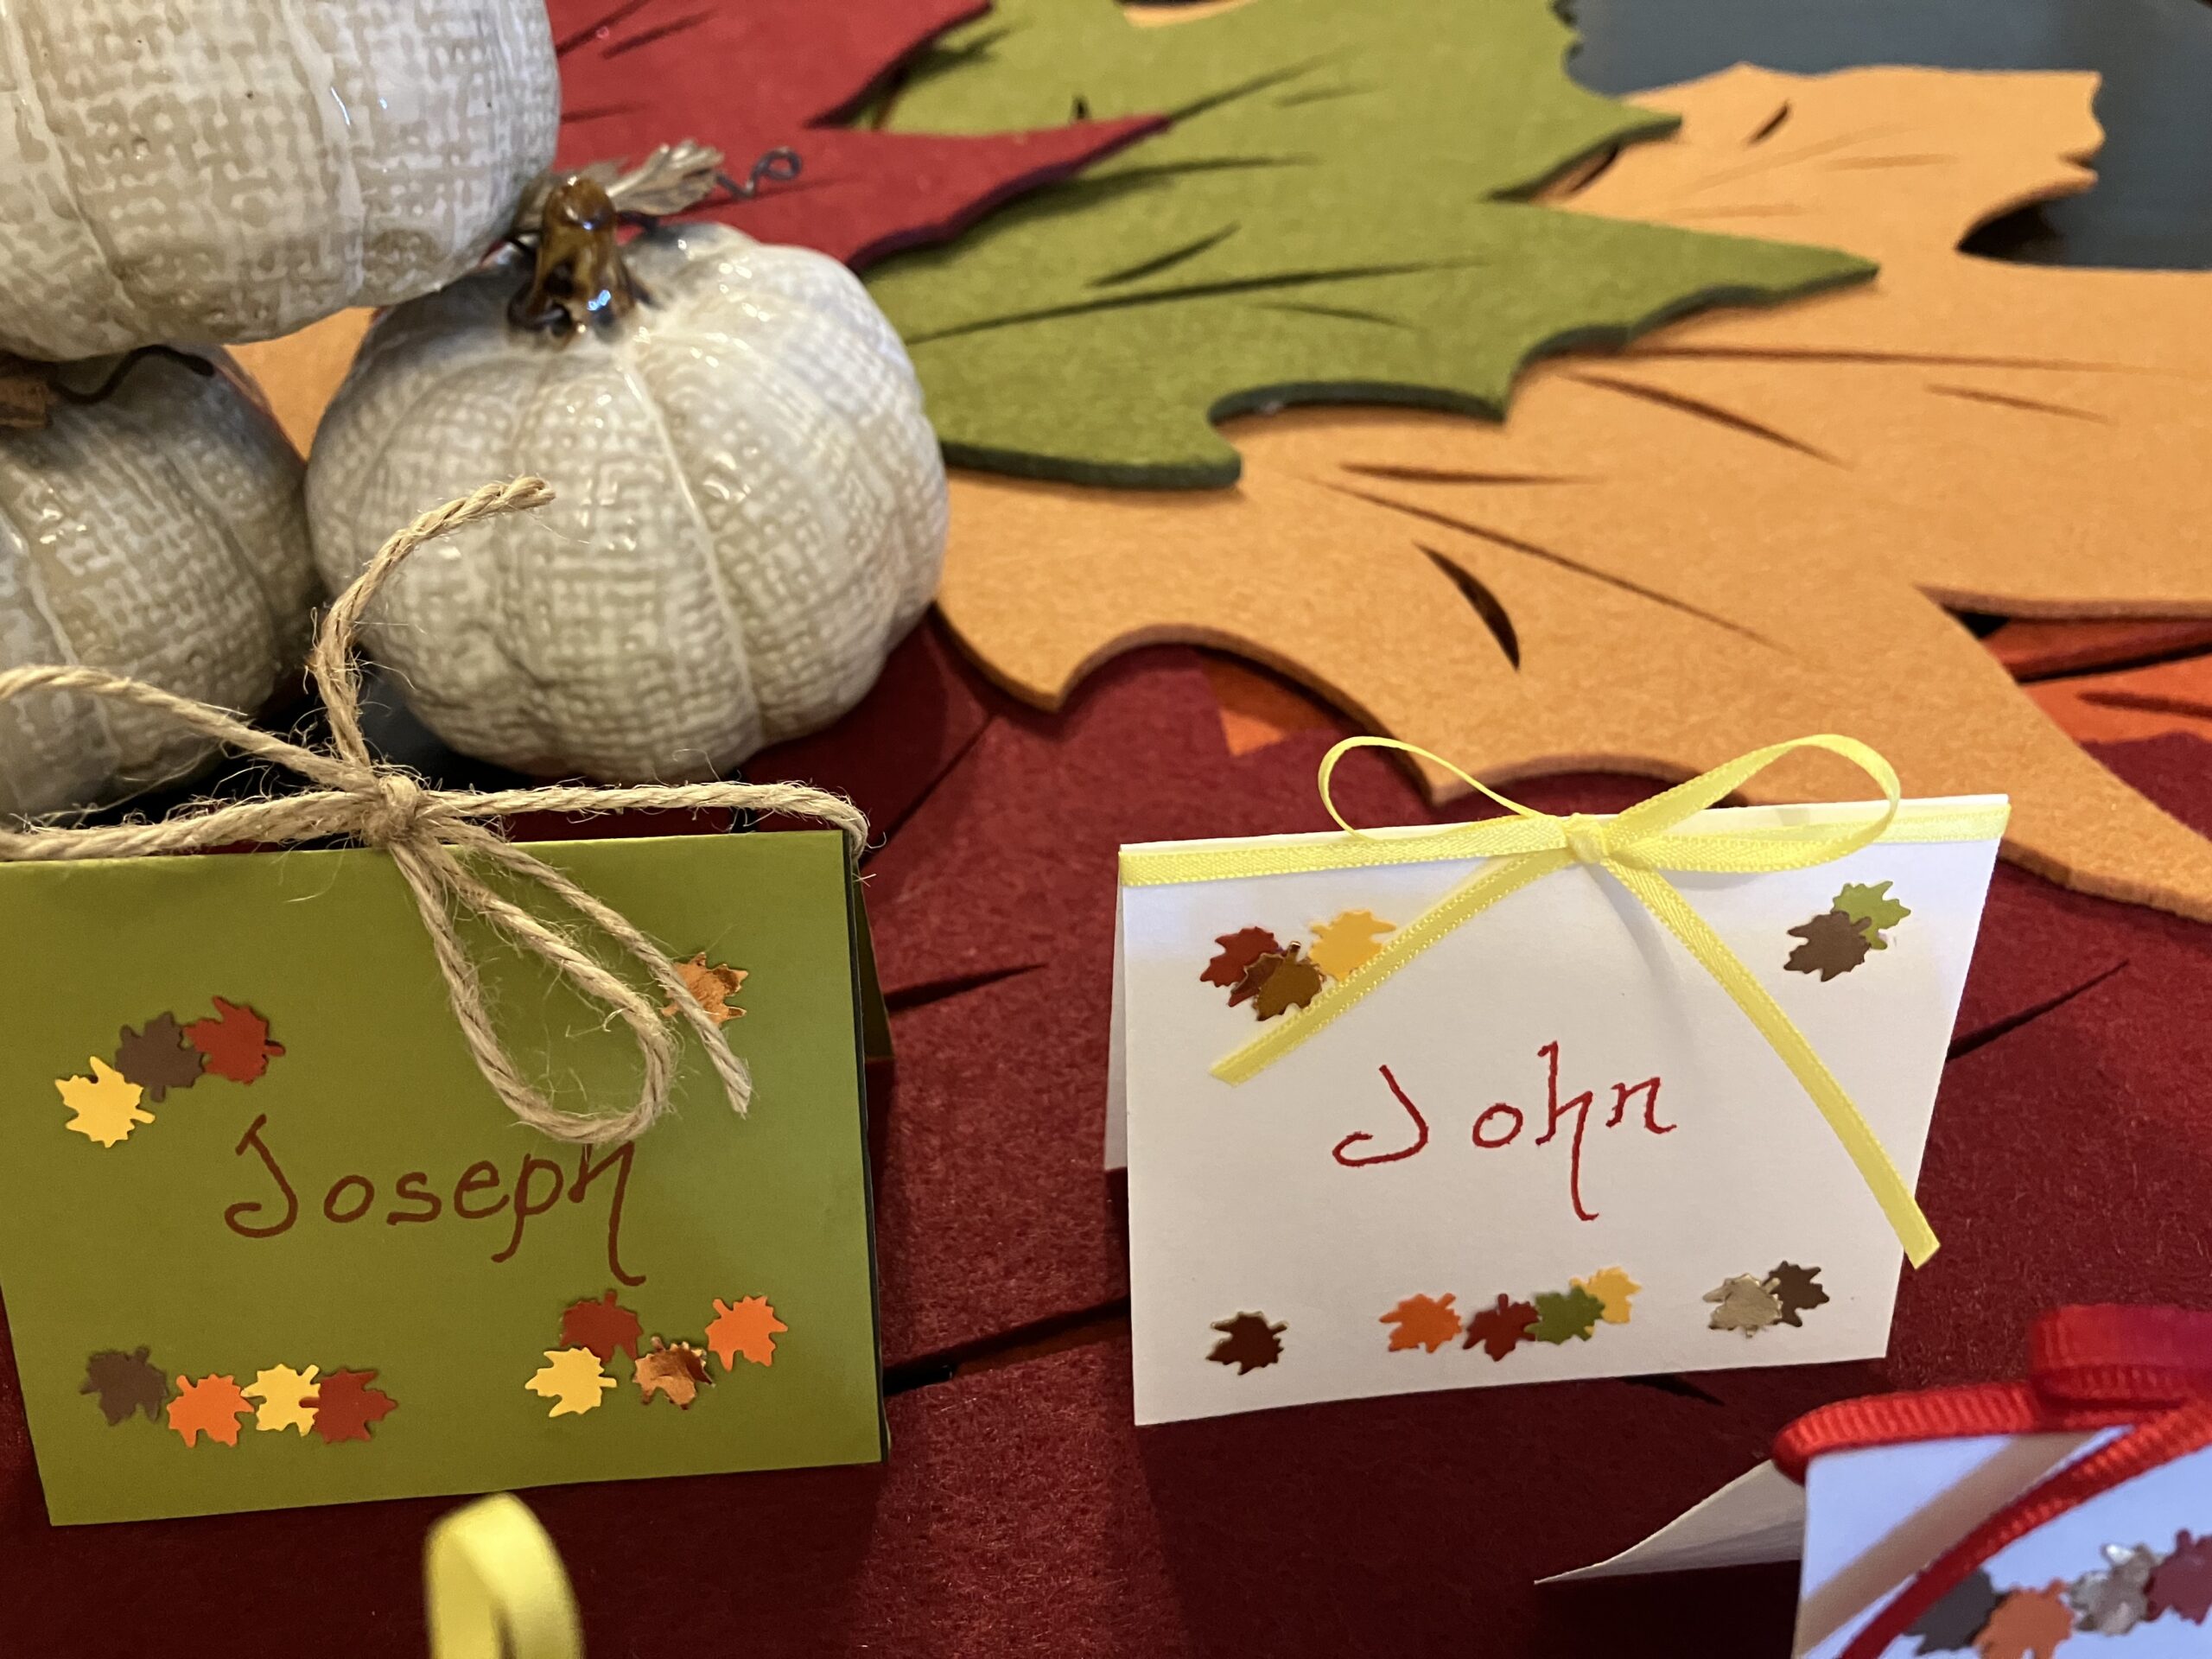
I used white index card and green card stock from the Recollection Cardstock Paper, Spice Market.
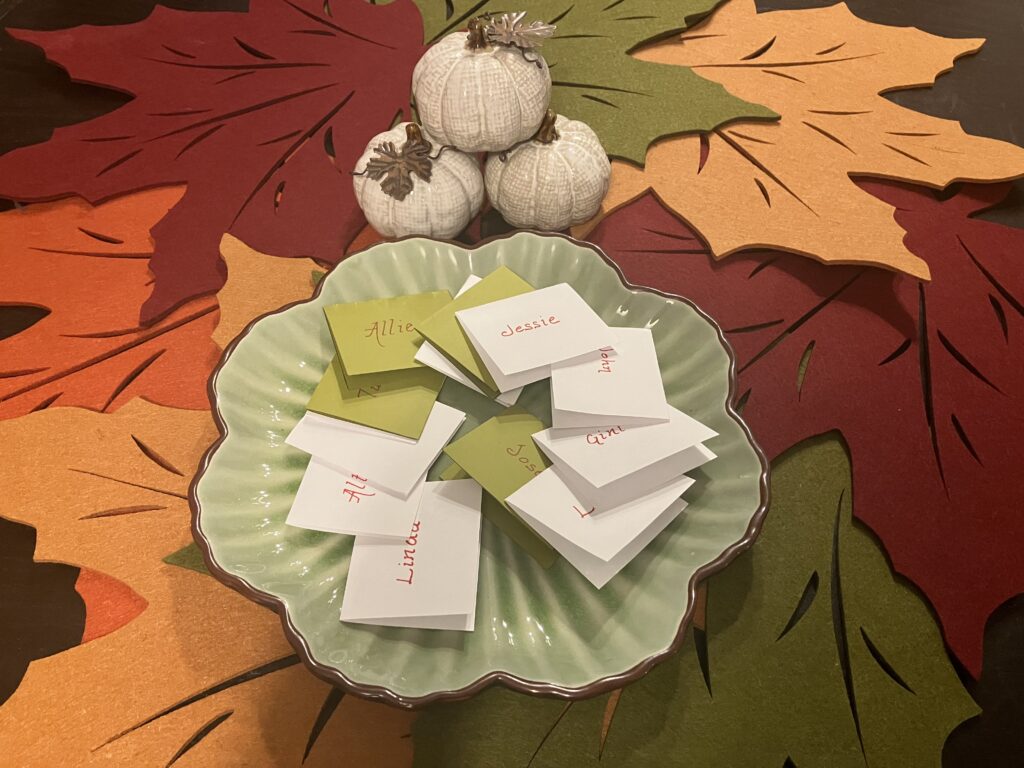
Step 2. Name Writing
I hope you have good handwriting. If not, your could print them on card stock and cut them out to size. I have included a simple template at the bottom if you want to use it. Again, you could have your kids write the names. My daughter is learning to write, and I love how she writes.

Step 3. Cut and Paste the Leaves
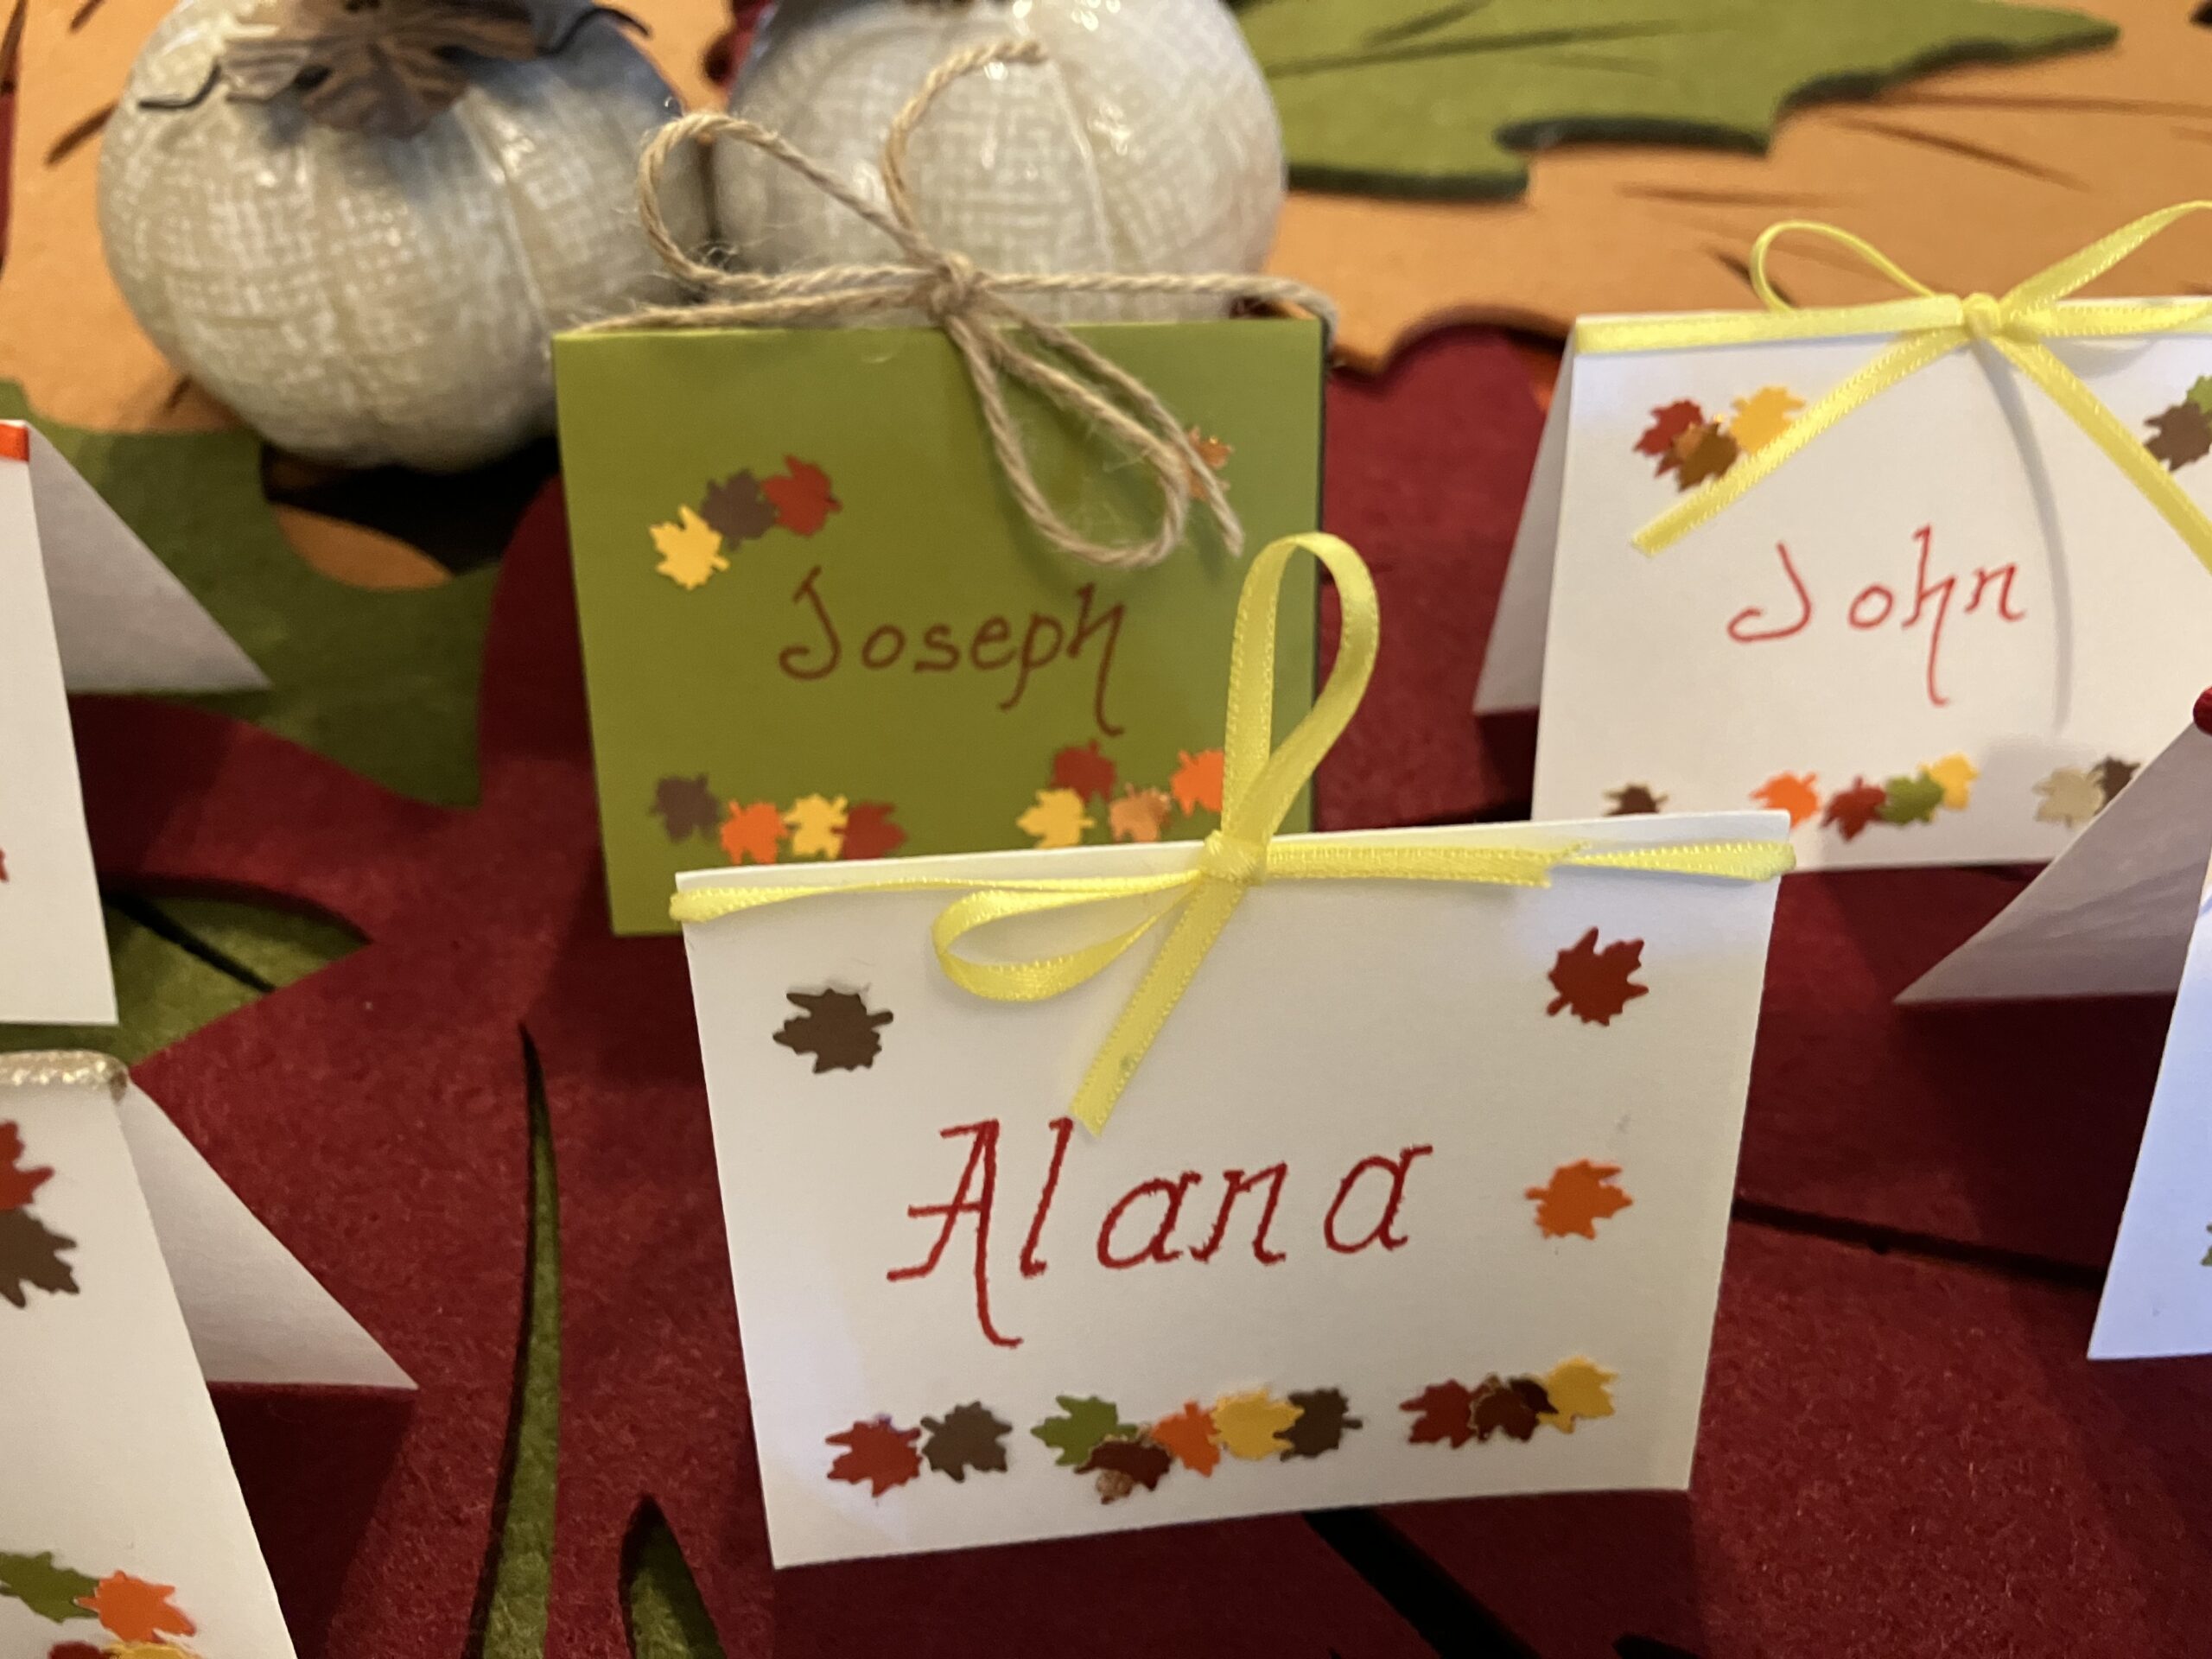
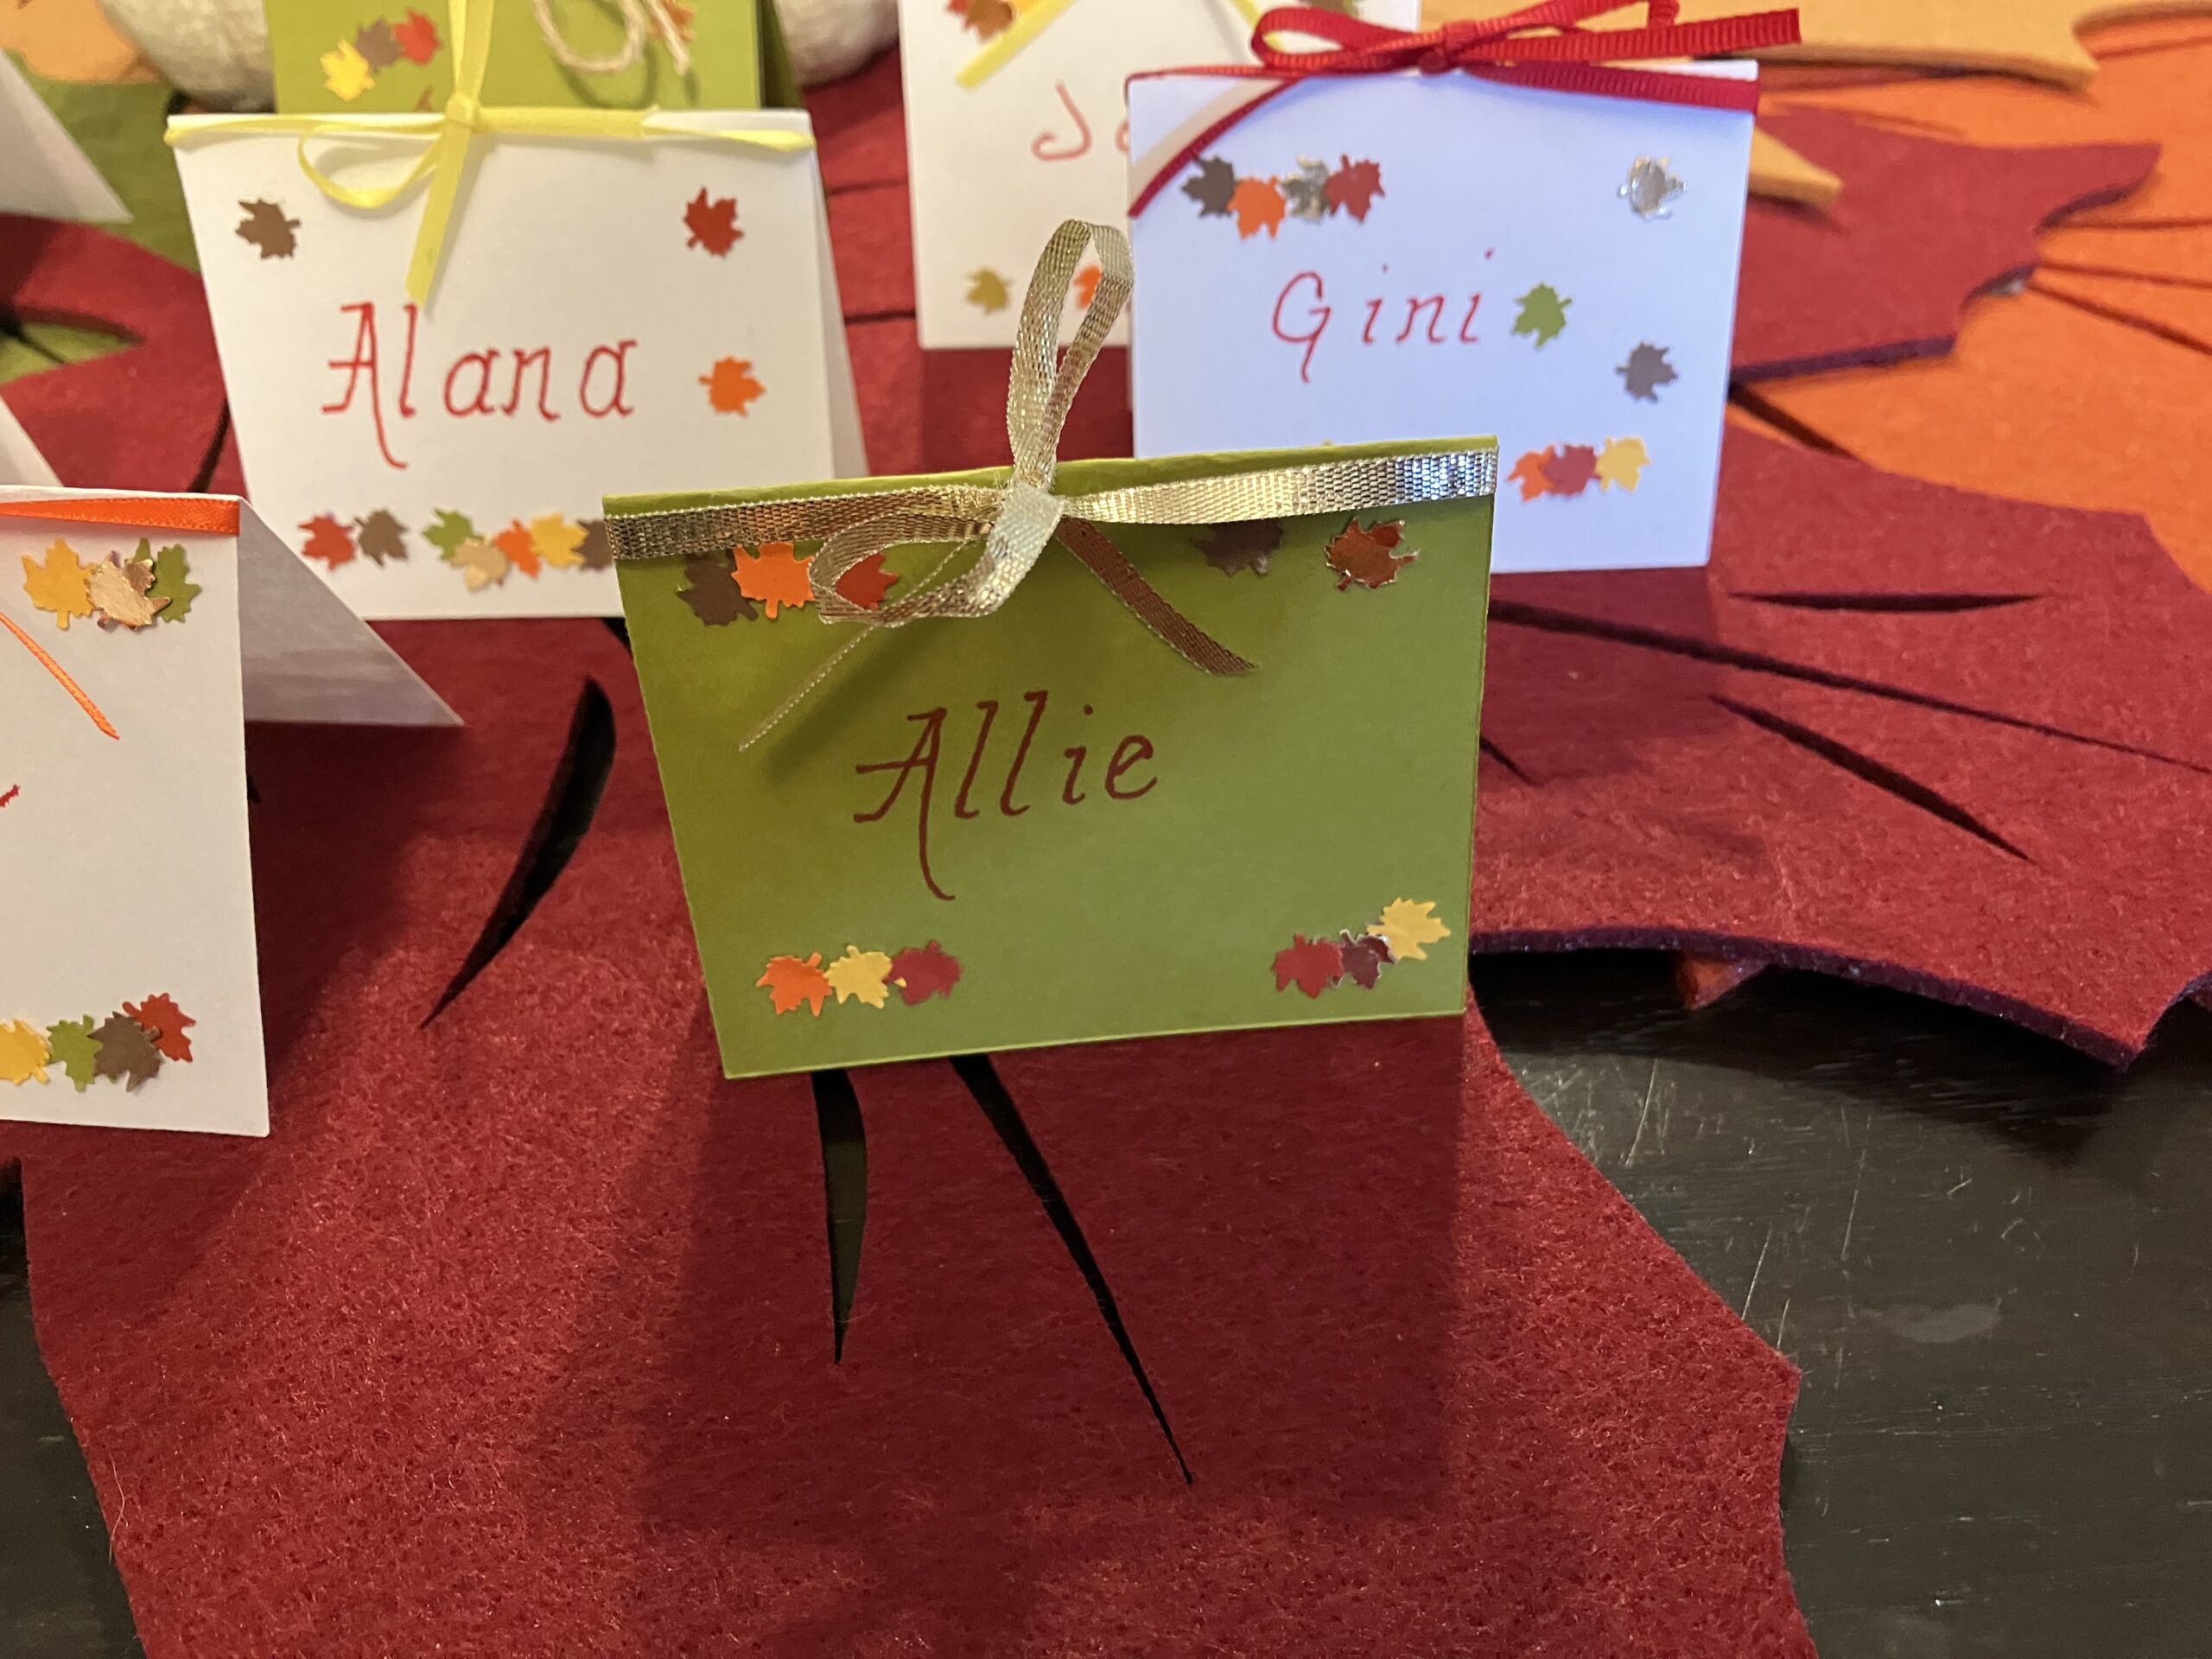
Next, punch out leaves of varying colors. I used gold foil to add a bit of shine to my cards. for to punch out leaves in all autumn colors. Then, I glue the small leaves to the place cards and arrange them in random patterns. For this project, each card would be unique in its design. Some might have more leaves than others and arranged.
Also, I use maple leaf punch. There are others on the market, but to me, maple leaf represents fall. Maybe I will make a spring version of the card by using other leaves, but for this project I am sticking to the maple.
Although, the leaves are small, I do not find it difficult to place adhesive on one side and paste to the card, but I can see it being an impossible task for someone like my husband. You could consider using tweezers or something. I use my hands, slide it over the top of the glue stick and place it on the card. You could also try putting a small drop of glue on the card and placing the leaf over it.

Step 4. Place the Ribbon
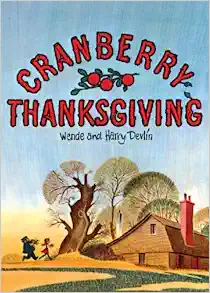
Last and final step, cut and place the ribbon, I use 12″, but it depends on how good you are at making the bow. You could work with less or you may need more. I have am showing many different ways to make this card. However, originally, I used the yellow ribbon and white cards. There was something about the simplicity of this design set against a decorative table that worked well with met.